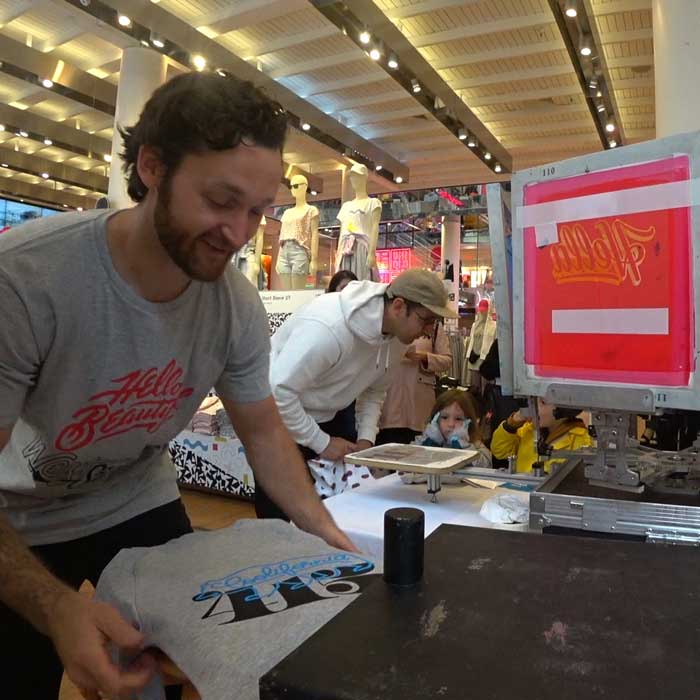
What’s going on, Print Fam?
Today, we’re tackling one of the most hotly debated topics in the screen printing industry: Pushing vs. Pulling the squeegee on a manual press.
As far as technique goes, I have traditionally pulled the squeegee. It’s the way I learned how to do it from the very start, and if you talk to a lot of old-school printers, they will tell you it is the only way you should handle a squeegee.
However, there has been a massive trend in recent years. The newer generation of manual printers is increasingly pushing the squeegee. Today, I am putting both methods to the test to see if there is enough of a difference to finally recommend one over the other.
The Test Setup To conduct this test, we are keeping the variables tight:
Frame: 18 x 20 inch frame Mesh Count: 110 Mesh (The gold standard for white plastisol) Squeegee: 70 Durometer Ink: Wilflex PolyOne Bright White Plastisol Press: The legendary DIY $30 wooden press Test #1: The Pull Stroke Starting with what I know best. I applied my pallet adhesive, loaded up a scrap shirt, and executed a standard pull stroke.
The Process: I did a light flood pass, followed by a firm, angled pull stroke, and finished with a quick snap to clear the screen. I hit it with the flash dryer (be careful not to over-flash plastisol, or you'll get excessive fibrillation) and gave it a second pass. The Feel: Pulling feels natural. More importantly, when you pull, the squeegee seems much more capable of working its way into any microscopic nooks, crannies, or uneven areas on your platen. Test #2: The Push Stroke As a lifelong puller, this took a second to get used to.
The Process: I flooded the screen with no downward pressure, pushing the ink away from me. Then, I adjusted my angle and pushed firmly to clear the mesh. The Feel: It felt a little weird at first. The biggest thing I noticed is that the push stroke doesn't naturally contour to uneven spots on the pallet as well as a pull stroke does. Because my DIY wooden pallets aren't perfectly level, I actually had to do a third clearing stroke just to get the ink out of one stubborn corner. The Result: After a quick flash and a second pass, I compared the two prints side-by-side. The Final Verdict When comparing the two prints visually—putting white plastisol through a 110 mesh—the print quality is completely identical.
So, which one wins?
Even as an old-school puller, my final verdict is that you should go with the push stroke.
Yes, there will always be certain tricky jobs, weird garments, or unlevel pallets where a pull stroke is absolutely necessary to clear the mesh perfectly. But for the vast majority of your daily jobs, pushing is the clear winner.
Why? Fatigue.
The push stroke utilizes your body weight rather than your shoulder muscles. It is significantly less fatiguing on your body over an 8-hour shift. If you are less fatigued at the end of the day, the process of screen printing will be far more enjoyable. You won't dread the massive 500-piece manual jobs, and you are far less likely to burn out and quit.
Save your shoulders in the long run. Learn the push stroke, and you'll enjoy screen printing much, much more!